
I had been in a sewing rut, as many of us found ourselves mid-pandemic, and I knew I needed a splash of color and playing with fabric to get back into sewing. I decided on a simple bear paw quilt block but wanted to put a modern spin on it with improv piecing. I pulled my fabrics, focusing on pinks, and set up my rules for improv. You can read about my approach to improv quilting here.


I knew I needed to stop fretting about wasting fabric so I jumped in and started cutting. My initial block was a trial and error of how I wanted to lay out the rest of the quilt. I ultimately ended up ditching the 9-patch centers and stuck with the 4-patch option.


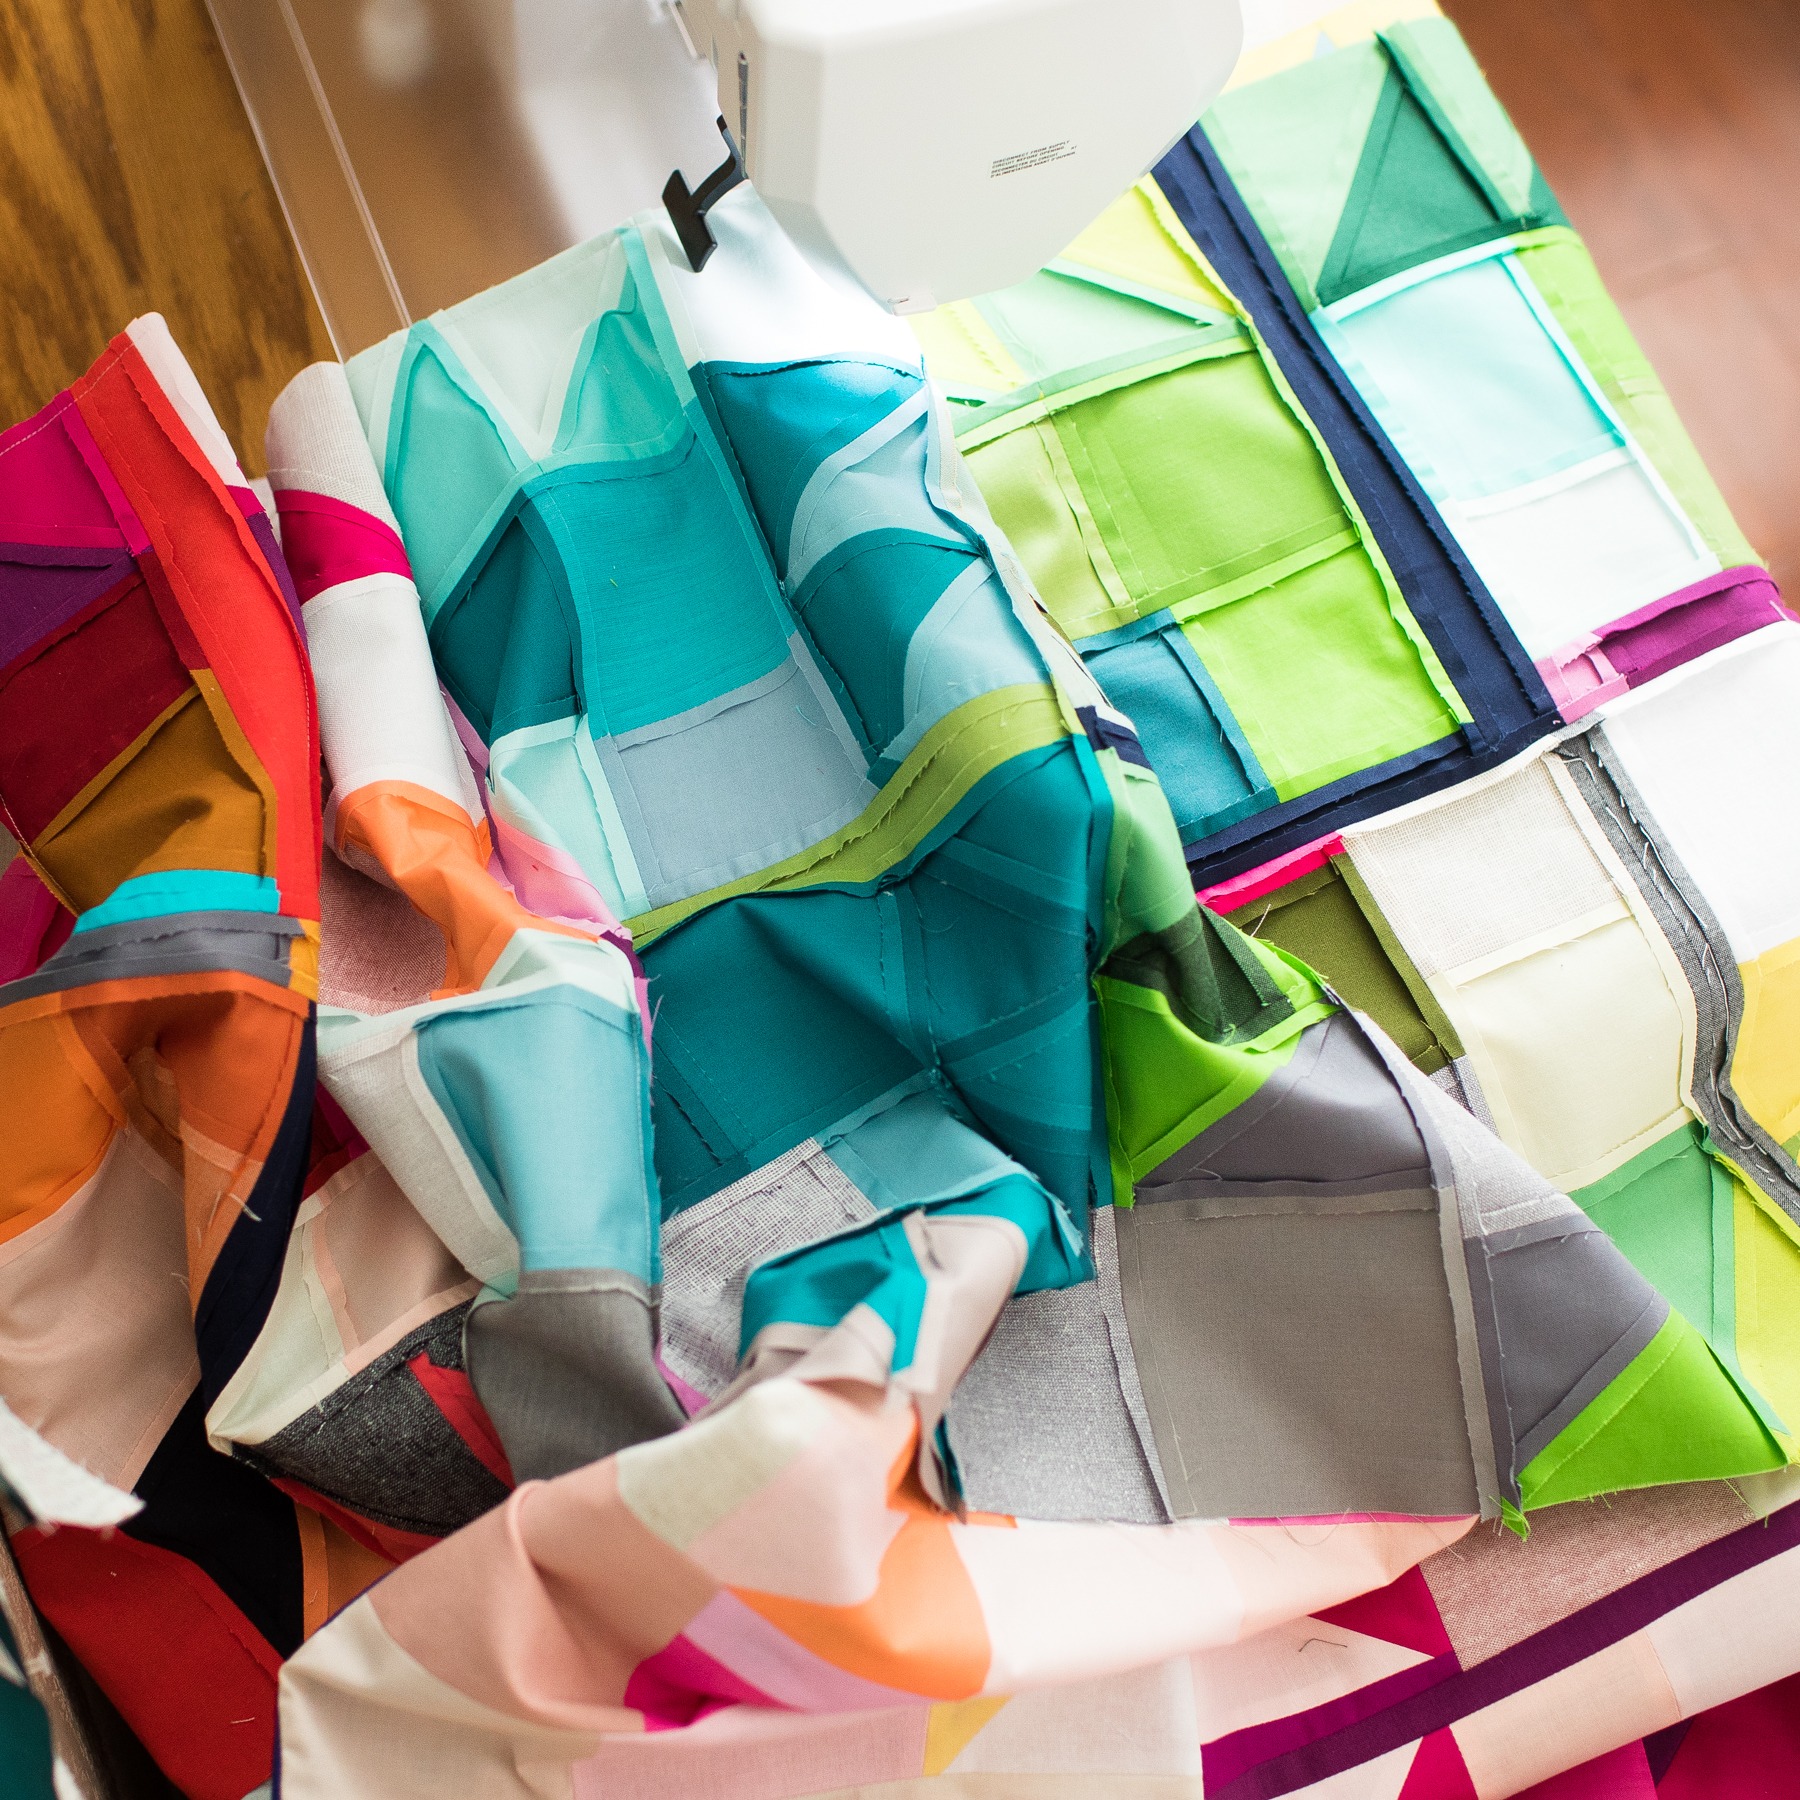
Once I settled on the layout of each block, I started focusing on how I wanted the colors to move across the composition. I was aiming for the quilt to look like a painting in my use of color. I marked out areas of color with little, and big, bits of fabric so I could think ahead as I was cutting and sewing the units for the blocks.
As the quilt grew I started to run out of room on my design wall. I wasn’t concerned about the size of the quilt because I knew I would need to account for seam allowances. With this in mind, I had a finished size estimate from the very begining.


I started to assemble the units into blocks and gained much needed real estate back on my design wall. I was then able to lay out the final blocks before assembly. And once I had everything up on the wall I was able to fold up the fabric that had been piled all over my sewing room. You can see that my pallet expanded from less than 30 fabrics initially to over 80 that ended up in the final quilt.
One of the things I focused on when assembling each block was to sort of square up the edges to each other. I knew that it wouldn’t be perfect but I also wanted a somewhat square quilt in the end, without losing too many points on the edges. I used filler strips within each block so that I could achieve this.


I moved to the floor to manipulate the last few long seams. Then used a 6′ level as a straight edge for squaring up the quilt top. I sat for awhile before I ultimately decided on 3/4″ grid quilting, including some hand quilted accents.


