
Half-Rectangle Triangles (HRT) differ from Half-Square Triangles (HST) because they are directional, which means the direction you sew your diagonal makes a difference in the finished unit appearance. Another difference is that you do have to do a very tiny amount of math to figure out how big to cut your starting fabric rectangles. However, the biggest departure from HST construction is that the quickest and simplest HRT method uses a template.
Here you will learn how to draw your templates and figure your cutting math so that you can apply this to almost any size HRT you want to make.
To make an HRT with a template you will need a few basic supplies including template paper, trace paper, or printer paper, paper scissors, pencil/pen, and ruler.
First you want to make your HRT template. Draw a rectangle the size you want your *finished* unit to be. (Finished does not include seam allowances). Make sure to draw this rectangle at least ¼” from the edge of your template paper.

Draw a diagonal line from corner to opposite corner, extending beyond the edges. (For regular printer paper, draw 2 diagonal lines creating an X. For trace or template paper, draw one diagonal line; the template can be flipped to be reversed).

Draw a line ¼” outside the original finished rectangle for your seam allowances. Note that the diagonal lines meet the corners of the finished rectangle exactly, it does not meet the corners of the larger, seam allowance rectangle.

Cut out the template on the seam allowance lines.

Now that you have your template you need to figure out how big to cut your fabrics. Always add 1.5” to the short side. Figure the rectangle ratio and add up to 2” to the long side. Figure the ratio by dividing the larger number by the smaller number. The ratio is 1:[answer from division].
Examples:
For a finished 4”x6” HRT, cut starting rectangles at 5.5”x7.5”. Because the ratio of the rectangle is 1:1.5, only add 1.5” to the long side.
For a finished 4”x8” HRT, cut starting rectangles at 5.5”x10”. Because the ratio of the rectangle is 1:2, add 2” to the long side.
For a finished 2”x6” HRT, cut starting rectangles at 3.5”x8”. Because the ratio of the rectangle is 1:3, greater than 1:2, add just 2” to the long side.
Next it’s time to sew! Place your fabric rectangles right sides togehter. Draw a diagonal line on the back side of the top fabric in the opposite direction the HRT will be oriented.

Here’s where it gets a little tricky! Rotate the top rectangle ¼ turn and match corners. You can check the orientation by holding in place and flipping back a free corner so it is folded on your drawn line.


Make any adjustments needed before you sew. Then, stitch ¼” on either side of the drawn line. Cut on line and press seams open. You will have 2 identical HRTs.


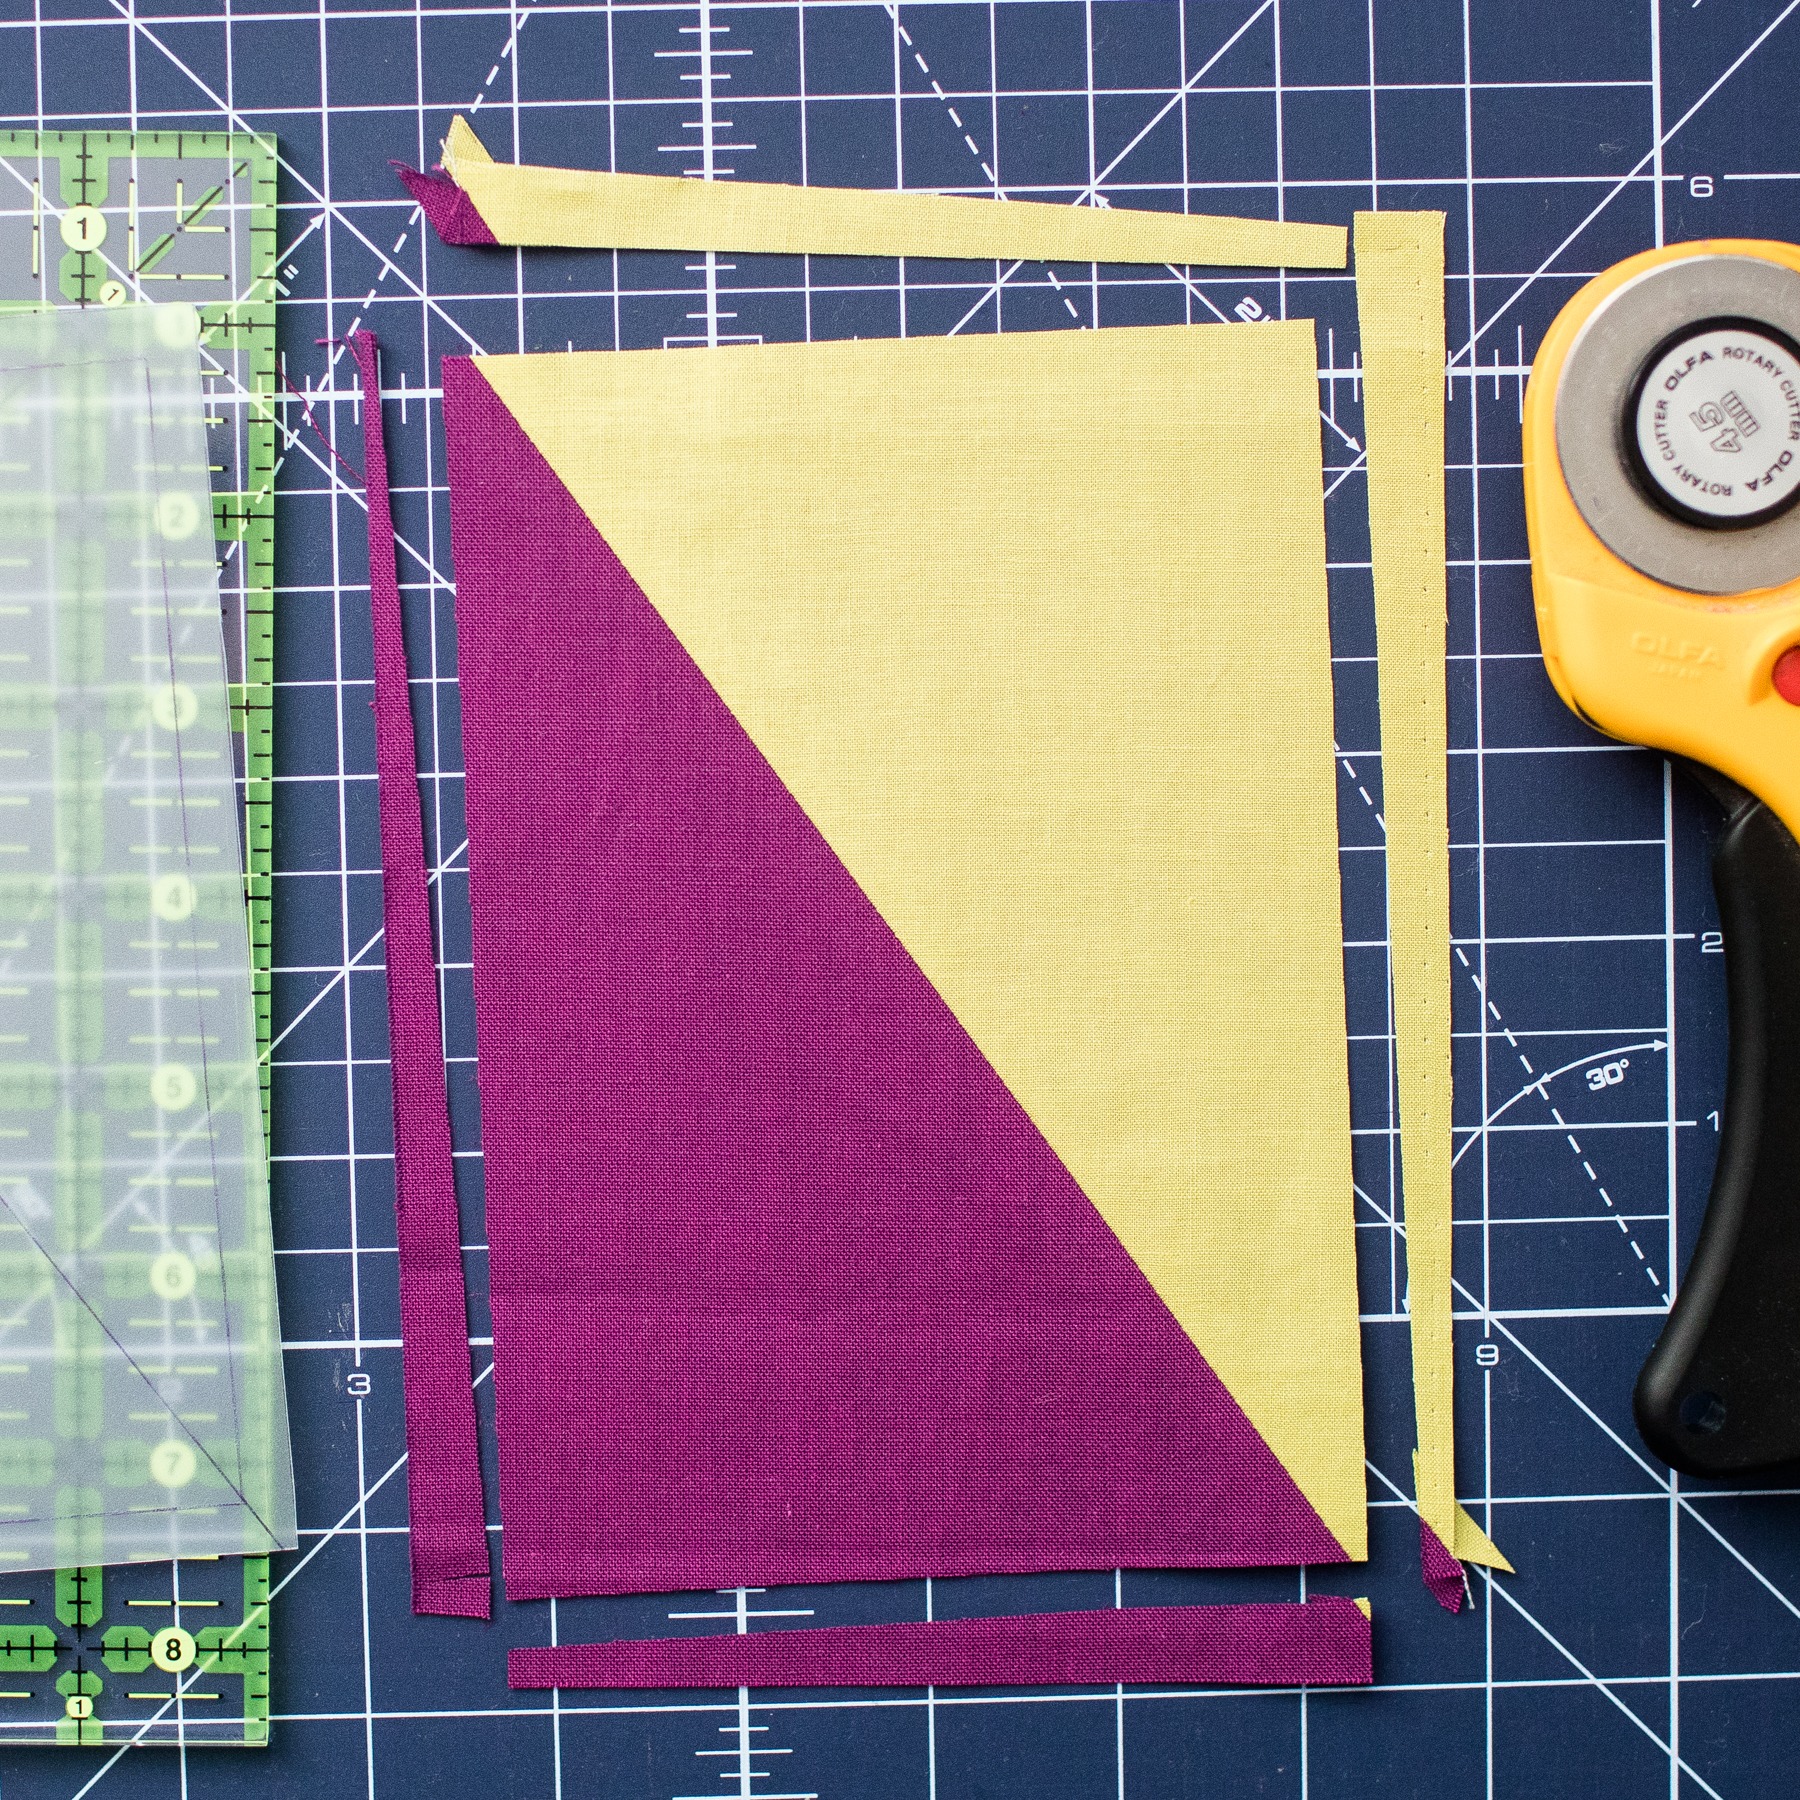
Here’s where your template comes in! Align the template diagonal line with the diagonal seam. Trim excess fabric from around edges of template.


Have fun making all the HRTs and happy sewing!


